How to Repair a Garden Hose
You pull your garden hose out of the garage, screw it into the faucet, attach the perfect nozzle, turn on the water and end up getting soaked. It’s the dreaded hose leak. Don’t panic and rush off to replace the damaged hose just yet. With the right tools and these simple methods, you can easily repair your hose and get back to watering the lawn in no time.
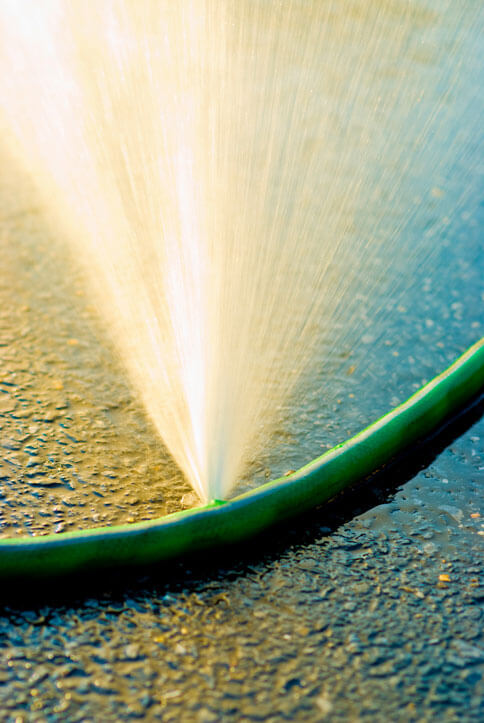
Small Leaks
If the water didn’t squirt you in your face, you may have to go on a little hole hunt. When you find the small leak, here are your mending options:
- Option 1 – Use common electrical tape or specially designed hose repair tape. First, clean and dry the hose before applying. Overlap the tap as you wrap it around the hose. Don’t wrap it too tightly or the hose will crease and the tape won’t seal.
- Option 2 – Use rubber cement for tears and punctures. Dry and clean the area and apply rubber cement to and around the hole. Fill in the hole, but not so much that it gets inside the hose.
- Option 3 – Use a tire puncture repair kit. These
are usually sold at bicycle repair shops or car part stores. Read the
directions and apply the repair materials to the hole.
Leaking Spigot
A leaking spigot is often a sign that
the washer is worn out and needs to be replaced. Washers dry out or
deteriorate with age. Simply remove the old one and put in a new one. If
it still leaks, replace the coupling. The coupling is the part that
connects to another hose or to the tap.
Large Leaks
Mending a large leak is a little more involved but still simple. This will require cutting the damaged section out and replacing it with a mender. Be sure to use a sharp blade and make straight cuts when doing this. Take the cut-out portion with you when purchasing the replacement parts to be certain you have the proper pieces. Parts will also depend on whether you have a rubber or vinyl hose.
- Step 1 – Carefully cut out the damaged portion of the hose with straight lines.
- Step 2 – Loosen the screws on the replacement coupler.
- Step 3 – Insert the cut ends of each section of the hose into the side of the clamp mender. If this part is difficult, rub a little soap on the area to make it more pliable.
- Step 4 – Tighten the screws until the clamp is tight enough to not pull the hose out.
- Step 5 – Attach the hose to a nozzle and turn on the water to test out the connection. Keep tightening the connector until water no longer leaks.
To avoid having to always repair
your garden hoses, it’s a good idea to protect them. A well taken care
of hose will last for many seasons. Always drain all the water out, keep
it out of the sun, coil it after you’re done using it and replace
washers when they show signs of dripping.
Resources found on our website are provided as general guidelines, and Reddi Industries does not assume any liability resulting from the provided information.